


For this week’s historical how-to, we return to the early 19th century with a book entitled, Sectum: the universal directory in the art of cutting, by Robert Byfield. (London: printed for H.S. Mason, 1825.) Here, “cutting” is used in the sense of tailoring. (The word “tailor” comes from the French tailler, to cut.) Professional tailors and dressmakers began to appear in the 13th century when clothing styles changed from loose garments made from simple geometric shapes to closely-fitted garments made from complex curving shapes. Full size paper patterns did not come into use until the 1840s (1), and so until relatively recently, tailors would mark the wearer’s measurements directly onto the cloth without the intermediate step of drafting a separate paper pattern.
While women tended to supply their families with loose, un-shaped garments such as shirts, tailors made stays or corsets, coats, waistcoats, trousers, and sporting clothing. While Byfield’s manual contains all of the typical garments found in tailor’s manuals, it differs from the other three such manuals in our collection in that it includes cutting directions for women’s gowns and shifts. For this week’s historical how-to, we will be sewing a simple shift according to the description in Sectum.

A shift, sometimes called a chemise, was a loose garment like a nightgown, ending anywhere from the bottom of the knees to the tops of the ankles. Worn under the corset and petticoats as the innermost layer of clothing, it absorbed sweat and oils from the skin, keeping the other garments clean. Shifts were often made from linen (or, in the later part of the 19th century, cotton), which could withstand frequent washing. It would have been the first piece of clothing put on in the morning and the last one taken off at night, and could also be used as sleepwear.
Although the title of Byfield’s work claims to contain, “unerring principles upon which every garment may be made to fit the human shape,” Sectum is obviously intended for a professional audience. For most garments, it contains a description of the type and quantity of cloth to be used, a handful of sample measurements for various common sizes, and in some cases, a diagram showing the most efficient way of laying out the pattern pieces so that the smallest amount of cloth is wasted. Nowhere are there directions for assembly, or even for taking measurements and adjusting the fit.
For example, here is what Byfield has to say on the subject of Ladies’ Shifts:

True to the title of the work, Byfield’s description is more of a cutting diagram than a set of instructions. He assumes that the reader already knows what a shift should look like and how it is made, and only needs a little assistance in determining the most efficient way of cutting it out. This he does extremely well; following his cutting directions produces two simple shifts from 4 ⅛ yards of fabric with just a few square inches of waste.
Visually, the cutting layout described here would look something like this:

A simple shift consists of just three pattern pieces: the body, which was a trapezoid tapered at the top and flared at the bottom; rectangular sleeve pieces; and square gussets to be inserted at the underarms to provide more ease of movement. In Byfield’s method, the body piece is made up of a rectangle with a narrow triangular piece added to each side. The neck opening would be cut out of the body pieces, and the neck, sleeves, and bottom edge hemmed. Despite minor variations in sleeve length and the amount of fullness in the body and sleeves, the basic shape of a woman’s shift remained essentially the same from the medieval period into the middle of the 19th century.
For the modern sewing enthusiast, however, this cutting diagram may prove problematic. Although 36” was a common width for fabric in the 19th century, 45”, 55” or 60” wide fabric is more common today. Furthermore, Byfield’s shifts are sized for someone with a bicep measurement of 12” (30 cm) or less, and a bust measurement of 40” (101 cm) or less even before taking into account shrinking due to seam allowances. As someone rather larger than these measurements, I’ve decided to adapt Byfield’s instructions to make a larger shift from a piece of linen 55” wide.
To make my shift, I’ve enlarged the body pieces from 18” to 20” wide, and from 45” to 55” long. To account for the extra length in the body, I’ve widened the triangular gores from 8” to 9” at the bottom, and I’ve lengthened the sleeves by one inch and widened them by four inches, making the sleeve piece 16” x 8”. Finally, I increased the size of the underarm gussets from 5” to 6” square. Allowing for ½” seams, this should fit up to a 15” bicep and 48” bust. As with Byfield’s pattern, the body piece is the same size as two sets of gores together, and I’ve arranged the pattern pieces so that there is a minimum of wasted fabric.

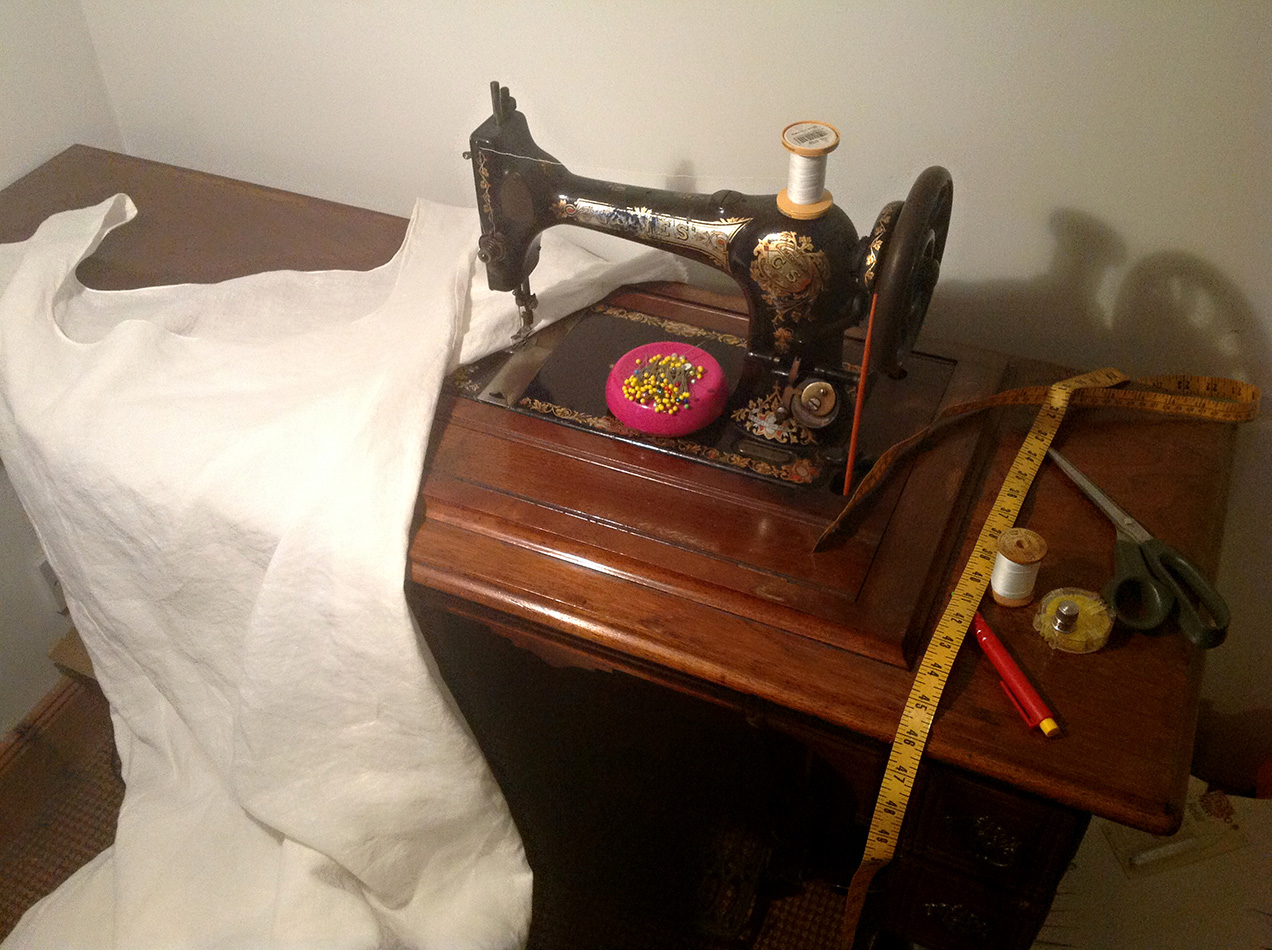
The patent for the first lock-stitch sewing machine wasn’t issued until 1846, so in order to be historically accurate, a shift sewn from a pattern published in 1825 should be sewn by hand. In the interest of time, however, I’ve decided to sew the seams by machine. As a compromise though, all of the hemming has been done by hand so that no machine stitching is visible from the outside of the shift.
To assemble the shift, the first step is to attach the side gores to the body pieces to create a trapezoidal shape:

Then, the underarm gussets are set into the underarm seam of the sleeves:

The front and back body pieces are sewn together at the shoulders, and the neck opening cut out and hemmed.

The sleeves are stitched to the body pieces, and the side seams sewn up. All that remains is to hem the sleeves and bottom edge.
Why Byfield chooses to include garments like shifts while his contemporaries focus exclusively on menswear and ladies’ coats, corsets and riding habits is unclear. The fact that the cutting diagram makes two shifts suggests that they may have been intended for bulk production. In his treatment of women’s gowns, he states that they are “frequently wanted for the purpose of being presented to Charitable Institutions” (p. 105), so it is possible that this shift, which is a very simple style, may have been intended for charity as well.
 Although this shift is plain in design and simple to assemble, many surviving examples in museum collections show that shifts made from essentially this same pattern could be dressed up with embroidery, puffed sleeves and gathers, or ruffles. In a few weeks, our Historical How-To’s series will return to the 1820s for a look at embroidery.
– CM
(1) Emery, Joy Spanabel. “Patterns and Pattern Making.” Encyclopedia of Clothing and Fashion. Ed. Valerie Steele. Vol. 3. Detroit: Charles Scribner’s Sons, 2005. 25-29. Gale Virtual Reference Library. Web. 1 Apr. 2014.
Discover more from University Collections blog
Subscribe to get the latest posts sent to your email.
Pingback: 52 Weeks of Historical How-To’s, Week 27: Embroidery | Echoes from the Vault
Thank you very much for this post. I’ve made a shift following these instructions in general. The result is very good and comfortable to wear, even with present day skirts and dresses. Thanks again!
Glad to hear our dressmaking how-to has been useful!
Thank you for this awesome article! It made the process so clear and easy to imagine, I made a 1:4 miniature version without much fuss. I am so charmed by the simplicity of the pattern.